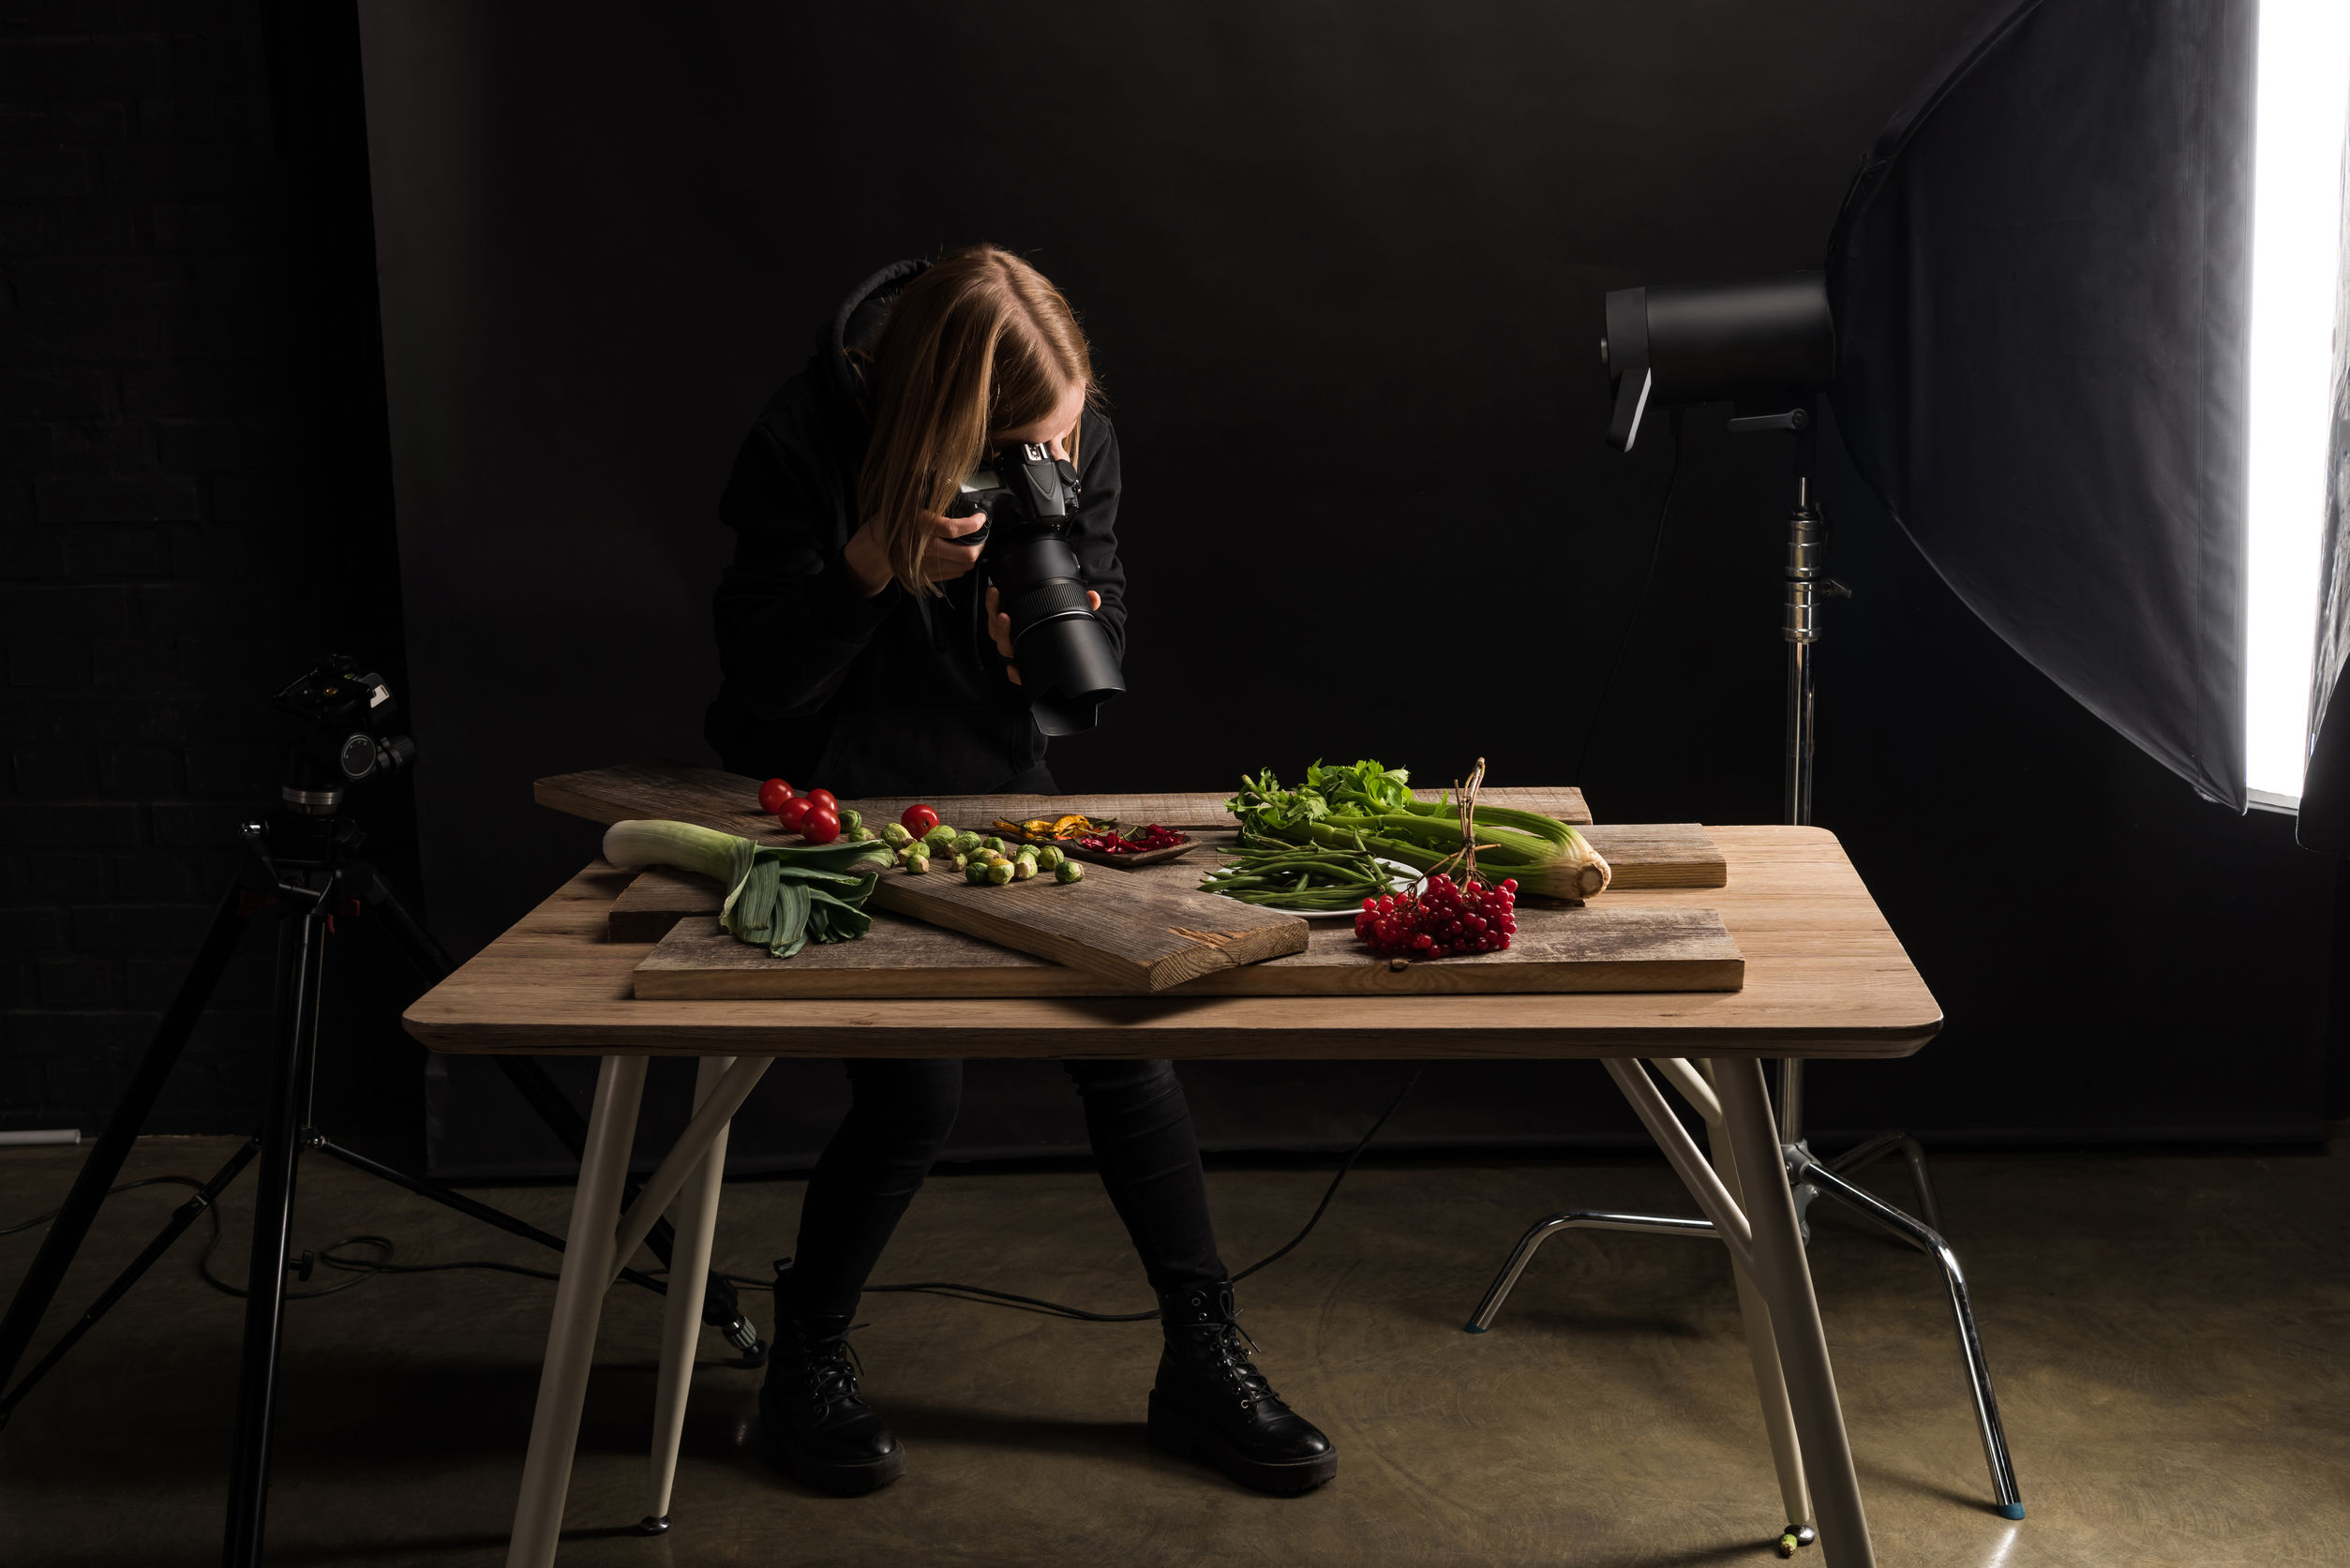
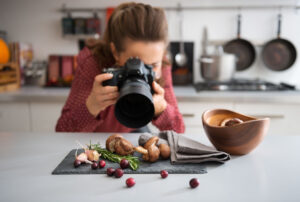
Food photography is an exciting field not only because you get to work with appetizing food every day but also because it demands creativity. This guide details how to build a food photography setup. In addition, you will learn some techniques to use once that setup is complete.
Let there be Light

It is pretty self-explanatory. Although it might seem repetitive, yet that is not the case. Food photography is one of the most growing and creative fields of photography. Since the subject is normal and stationary, that is why it depends on you to get creative enough to present it appealingly. The first step in building your food photography setup is to look for a place with abundant natural light. You do not need to rent out a studio for it but any window that gets direct sunlight will work perfectly.
Get some Diffusers and Reflectors

Natural light is definitely an integral part but you need a few things to control how much of it exposes your food. Mostly, diffusers and reflectors are used for these purposes. Diffusers are placed between the light source and the subject. The main purpose is to dampen the light to make it soft if the sun is too bright.
Secondly, reflectors are placed behind the subject whereas the source is in the front. Reflectors are used to fill in shadows and to evenly balance the light on the subjects. If you want your equipment to be fancy, you can find some costly diffuser and reflector combos online. Otherwise, white foams or boards can be used as reflectors and some clean white sheets or drapes can be used as diffusers.
Manipulate Light with your Setup
Now that our setup is almost complete, you must learn how to manipulate the light as per your needs. In food photography, it is customary to use soft light as it makes the food more pleasant and appealing. This can be done simply by using diffusers as we already discussed. The next part is to know how shadows affect your images. Some people prefer images with filled shadows whereas some prefer natural.
When you get to this step, you may notice the differences yourself and work with what you like better. Sometimes artificial light can also be used in combination with natural light to produce better results. The artificial lights can be used either as overhead bulbs from either side or even from the back. All these different methods produce different results. Hence, you must always try different methods and select the one that looks better in the given scenario.
Props for your Setup

It’s not just food that you are representing. You need to create a personal connection between the viewers and your images. There is no better way to do this than to use some props. However, you do not need fancy props. Your everyday kitchen items are enough for this purpose. Props include the backdrops as well as the bases on which the items are going to be placed.
An Inexpensive Method to Build a Basic Setup
There are some pretty fancy builds out there but let us share a basic one with you. It does not require you to shell out too many bucks but still works perfectly. You’ll need a cardboard box and then cut it so that just the bottom and side remain attached. The bottom part can be used to place the base and the side is for the backdrop. This is the most basic build that you can get but the most effective.
Conclusion
You do not need a lot of fancy items to start a career in food photography. This guide covers it all for you so that you can peacefully start creating mouth-watering images. Good luck!
This article was first published on https://blog.123rf.com/how-to-build-a-food-photography-setup/


