Summer food photography is often associated with cold drinks, refreshing fruits and picnics by the beach. You may notice that whenever this season comes around, food photographers tend to use a few recurring tricks – applying some sort of universal formula when it comes to taking pictures of summer food.
1. Pick A Reliable Light Source

Fruity summer beverage by svetazarzamora, 123RF.
It goes without saying that a light source is crucial in getting the best result when it comes to photography. However, it is especially important for conveying summer vibes as the season is all about bright, vivid colors. Hence, choosing a reliable light source is imperative to make sure the colors of your food truly pop.
Look around you, see if there’s any large windows, glass panels or transparent sliding doors that you can utilize to get lots of natural lighting. Observe how the lighting from the windows change as the sun moves its position throughout the day. This way, you can easily estimate the best time to shoot in daylight. 
Food photographer at work by belchonock, 123RF.
However, if you are somehow unable to take photos using natural light, don’t fret because using artificial light sources can be one of the options too. It can be LED lights, studio strobe or even fluorescent lights – whichever suits your setting the best.
2. Choose Your Angle

Flat lay of shakshouka by dolphytv, 123RF.
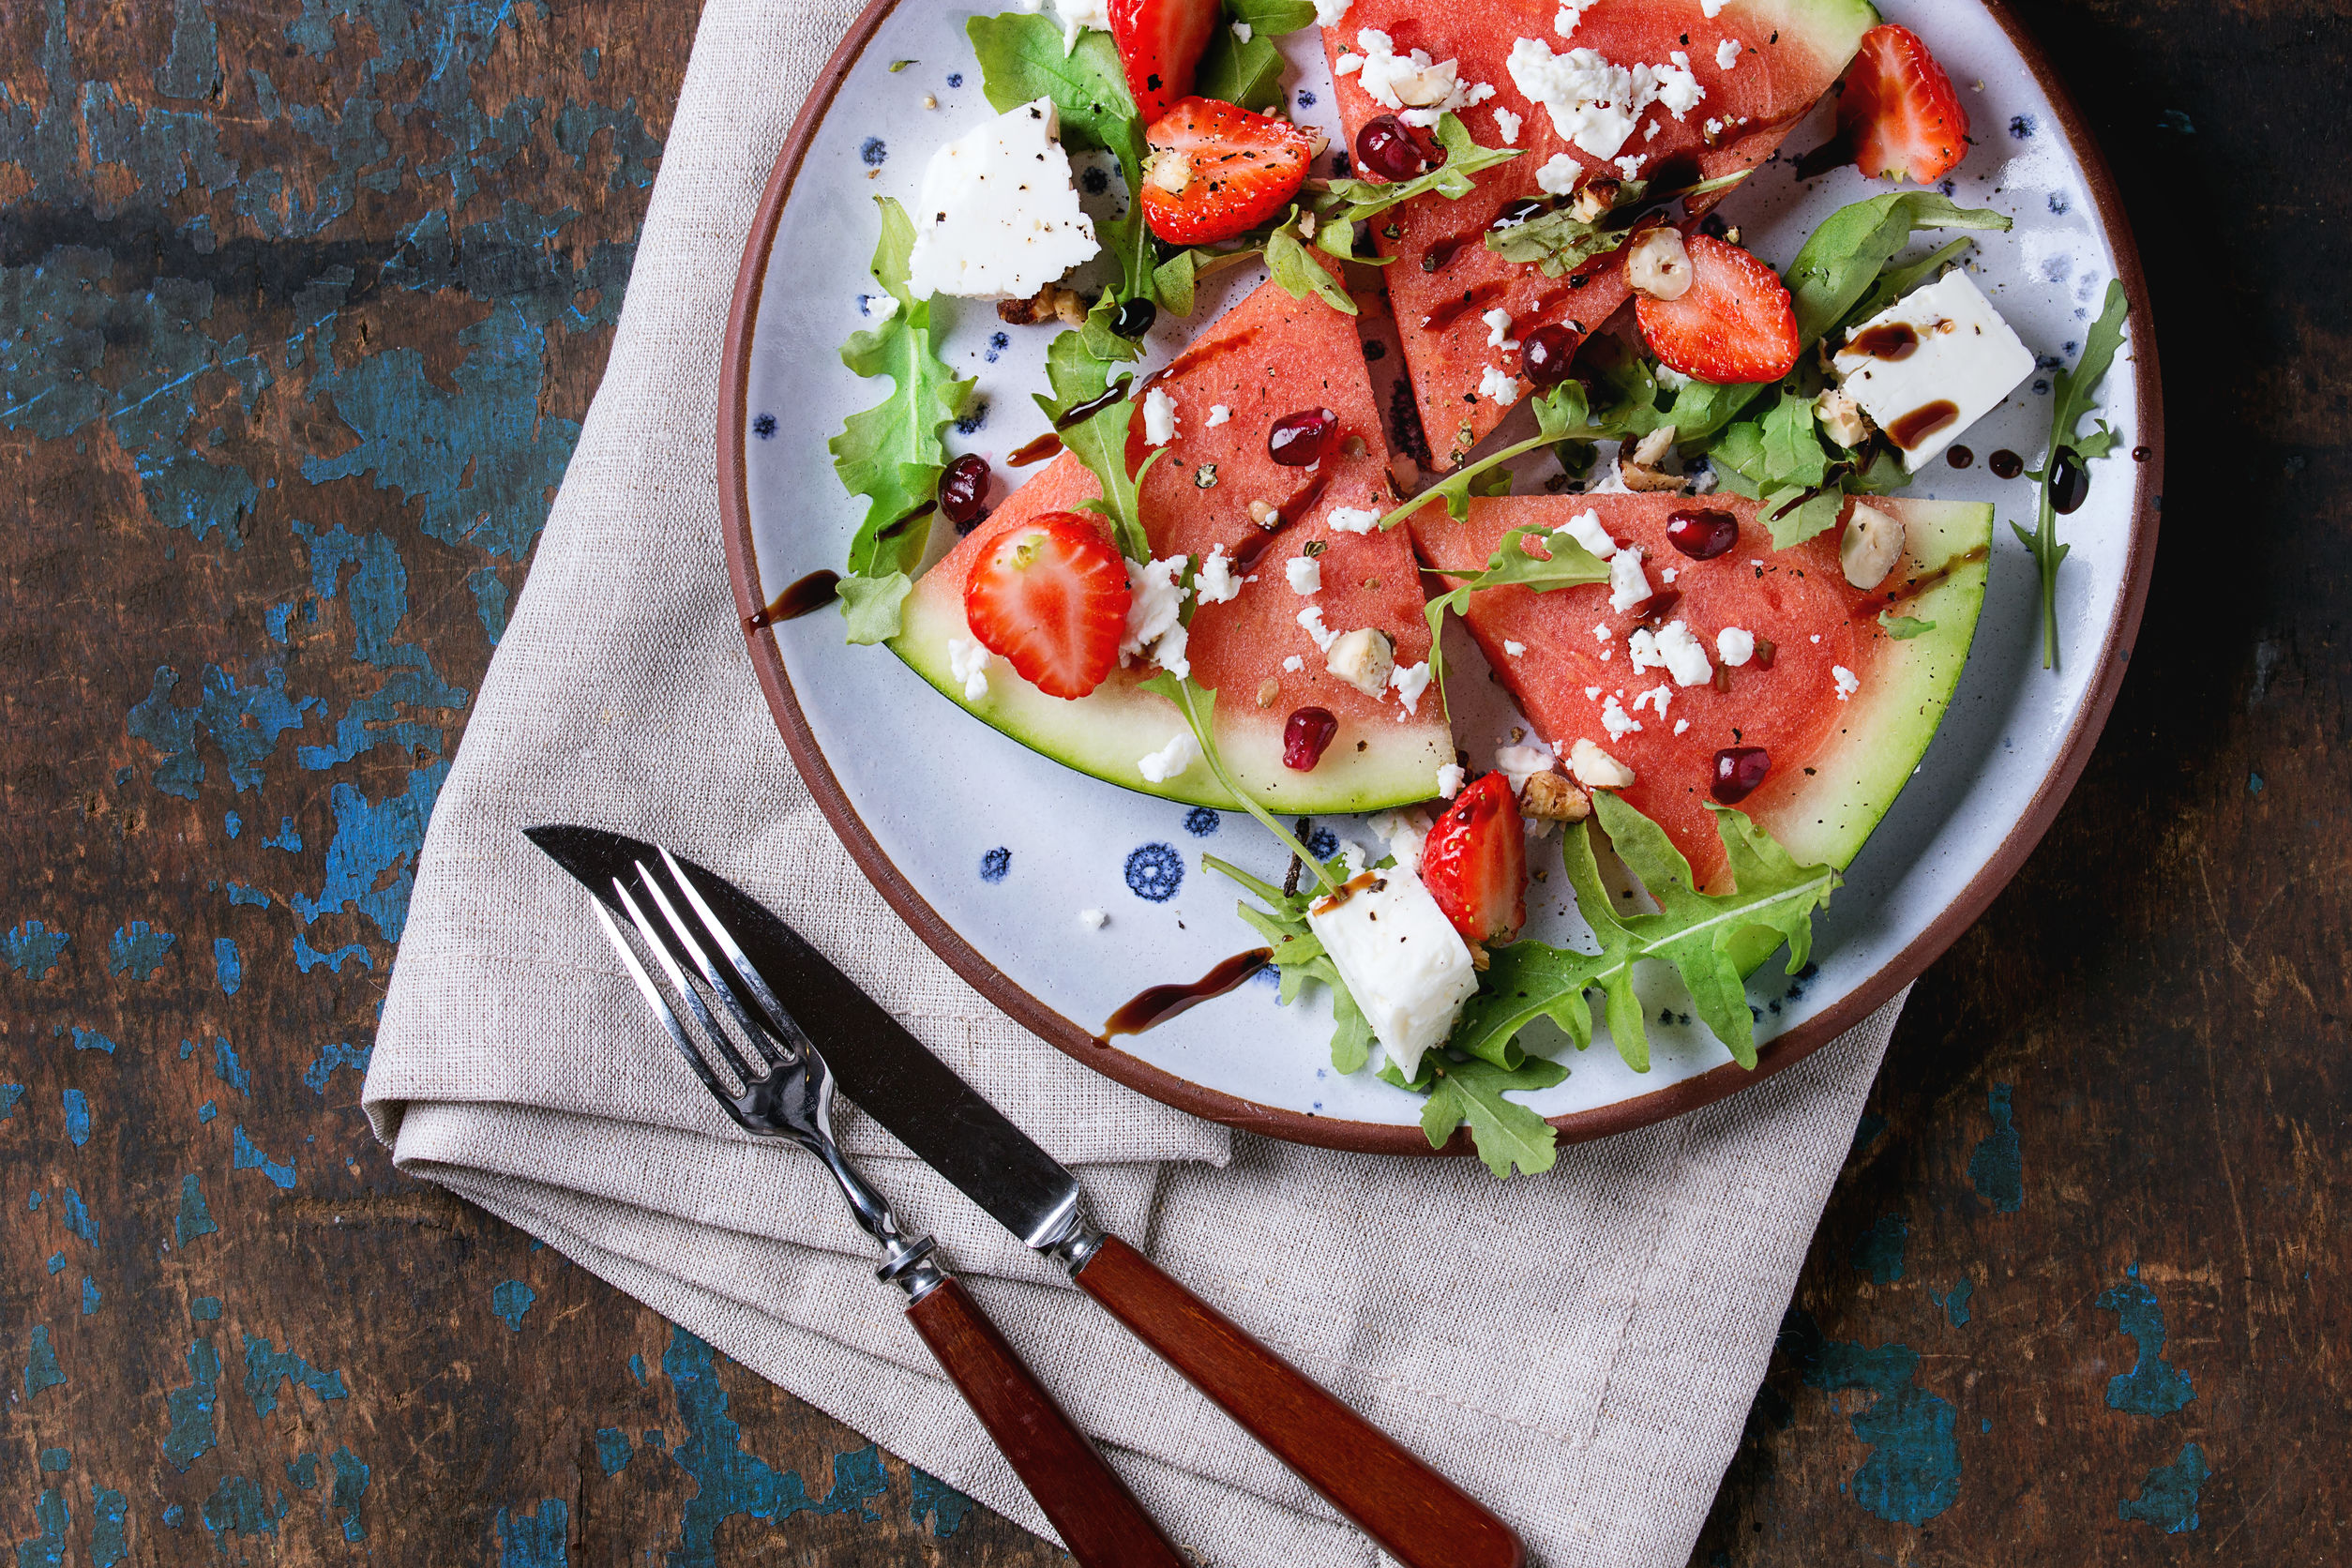
Granted, the most frequently used angle for food photography is the overhead (or flat lay) angle. Flat lays are almost always the go-to approach for many food bloggers. This is as the camera would be positioned perpendicular to the subject, which gives the audience a pleasingly clear and aesthetic view of the entire meal. You can also have more space to use props or play around with composition more using this angle.
Homemade chocolate chip cookies with milk by baibaz, 123RF.
However, don’t let this stop you from experimenting with different angles. For instance, the ¾ angle tends to not disappoint as it works great on most dishes. This can be achieved by placing your camera at a 45 degree angle from the plane which you placed your food on. Hence, giving viewers the chance to observe the front, top and sides of your subject.
Iced latte by zakiroff, 123RF.
Of course, when you are photographing iced beverages for the summer, the head-on angle would be your best shot. This would let the viewers see only the front part of your subject, which works well on drinks as they can appreciate the entirety of it; the clinking ice cubes, droplets of condensed water on the glass – these tiny details make your subject all the more alluring.
3. Utilize Props Effectively

Watermelon smoothie bowls by aamulya, 123RF.
A meticulously planned set is a must when it comes to food photography. Each shot needs to have a well-designed composition, with just the right background and props. When it comes to summer food, it is advisable to choose props that people can associate with the season itself. For instance, slices of tangerine or limes to depict citrus freshness, or perhaps checkered table cloth that can enhance the vividness of the dish. Even if it’s just a sprinkle of parsley, or maybe just small stacks of greens surrounding the meal, these seemingly meaningless props can create a huge difference. 
Flat lay of sushi rolls by tbralnina, 123RF.
The general rule of thumb is to keep it minimal and arrange the prop as a means to complete the main subject, instead of being a distraction to the viewers. However, minimalism isn’t always what the audience wants. Sometimes certain people want a narrative instead; hence keeping it simple may not be favorable to them. To cater to these different preferences, it is best to experiment with different props and settings to see which style receives more engagement from your audience.
To make your food shots look even more professional, you can always make use of simple styling tools you might already have at home. For example, you can use syringes to place condiments across your meals. You can remove smudges on the edge of the plates using cotton swabs.
4. Familiarize Yourself with Different Styles

Flat lay of tropical fruits by vicushka, 123RF.
There are multiple types of food photography and various ways to style your food. So, before you discover your own style, there’s no harm exploring the different types of food photography:
- Product photography
- Advertising
- Recipe
- Editorial
- Lifestyle
- Documentary
Recipe is definitely the type of food photography that we as consumers encounter most frequently. We see it in magazines, cookbooks, emails, newsletters, blogs and social media. It is also the most popular form of photography among foodies, food bloggers and enthusiasts. 
Refreshing summer drink by sonyakamoz, 123RF.
Lifestyle is also a popular one among amateur food photographers, social media mavens and influencers. A lifestyle image showcases the use of a product in a real-life situation, usually framing people in the shot. The key to a good lifestyle image is to make it look as natural and candid as possible, all while making the food look appealing. The product itself is no longer the main subject, but a part of the visual story. 
Summer picnic setting by sonyakamoz, 123RF.
5. Tell A Story

Flat lay of family meal by sonyakamoz, 123RF.
As mentioned before, minimalism is usually the go-to style especially for flat lay shots. However, there’s absolutely no wrong in trying to create a narrative using intriguing composition. Feel free to arrange your subject in unique ways, surrounded by props that help you tell a story. Use colors to get your point across, or perhaps to be bold, take a bite of your summer food! Show the viewers something that would make them double take and let your imagination run wild.
Start your food photography journey this summer!
Now you are more than ready to take the perfect shot of your summer dishes, so what are you waiting for? It clearly doesn’t take a lot to set up a stunning backdrop for your food. Be it abstract, elegant or straightforward, have confidence in your photography skills, and you are ready to go.
To learn more about setting up your own food photography studio at home, check this out. For more summer-related content and inspiration, you can browse here.
This article was first published on https://blog.123rf.com/5-must-know-tips-for-stunning-summer-food-photography/


